Dennis vanEngelsdorp Honey Bee Epidemiology Lab
  • UMD Bee Lab
    • Home
    • Donate
    • Lab Personnel
    • Graduate Students
  • Research
    • Publications
    • National Honey Bee Disease Survey
    • US Bee Data
    • Campus Bee Survey
  • Extension
    • Updates / Blog
    • Honey Shop
    • FAQ / Links
    • PollinaTerps
  • Services
    • Diagnostic Services
  • Contact
    • Request Speaker
    • Lab Opportunities
    • Contact Form
    • Swarm Removal

Bee Educated! A Semester with Pollinaterps

5/21/2014


By: Lauren Leffer

I’ve been around the research block a few times.  In high school, I was involved in a student lead permafrost research initiative where I got the chance to travel to Churchill, Manitoba and get my hands dirty with my first taste of fieldwork.  I started in on-campus research way back in my very first semester of freshman year, studying vampire bat behavior.  I spent a summer in an entomology lab at the Smithsonian, identifying parasitic wasps, and pan trapping at sites all over Maryland.  And now, as a seasoned sophomore, I got the chance to expand my research horizons to the vanEnglesdorp lab.

I had heard about the “Bee Lab” from a friend and alumna who’d been involved with the Pollinaterps project, and she semi-recruited me to fill her spot.  I’d been looking to get some experience in a more conservation-focused lab than the one I was currently in, and bees seemed like a great place to start.  When I first joined the lab, I didn’t know quite what to expect, but what I got was an enthusiastic and welcoming group of colleagues, weekly meditation in the form of in-lab tasks (hot gluing can be a wonderful stress reliever), exciting and idea-driven group meetings, the opportunity to help further develop the existing Pollinaterps education initiatives, and a totally awesome Maryland Day experience.

Picture
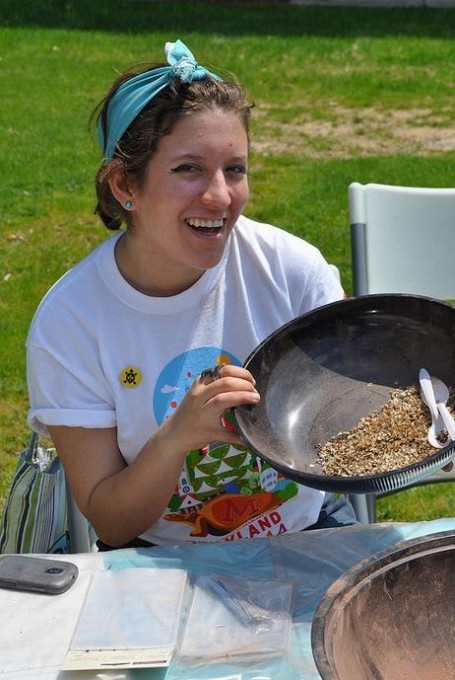
See, look how happy I am with my bowl of wildflower seeds!
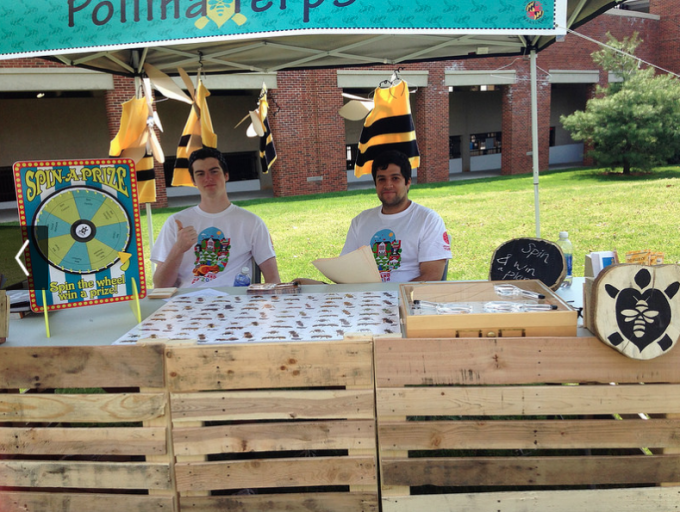
As a part of the lab, my main project was working with the campus organization Pollinaterps to help plan activities for Maryland Day and beyond.  I coordinated closely with the folks over at the arboretum (Shout-out to Carin Cebuski!), brainstorming ideas for the Pollinaterps booth, new educational activities, and improving on the old!  I came up with a kid-proof seed-bomb (a.k.a. Pollinator Pod) making procedure, worked with Sue Boo and Carin to improve the ever-popular pollinator game and bee costumes (who knew coat hangers and stockings made such great bee wings?), and wrote categories and questions for the native pollinator prize wheel (and learned a whole lot about native bees along the way).  In each of these individual projects, I felt I had room to be creative.  I had a great time coming up with ideas, doing the work to see them through (which was honestly, a lot of arts and crafts), and feeling like I was making some small difference: educating the public about the importance of our native pollinators.
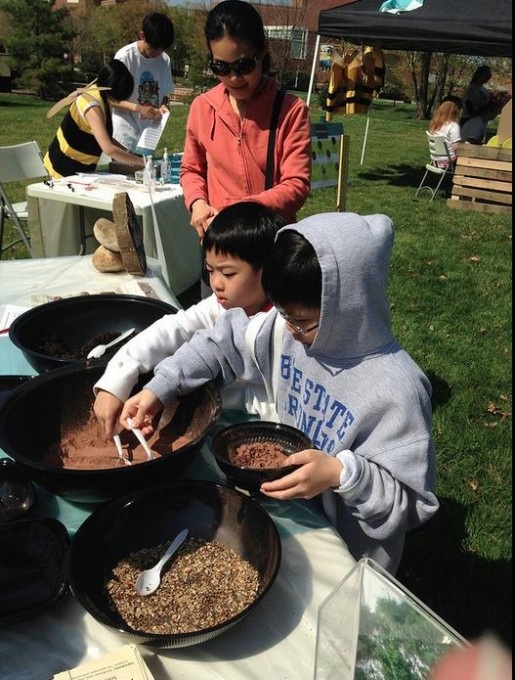
Picture
Look at that focus!
Picture
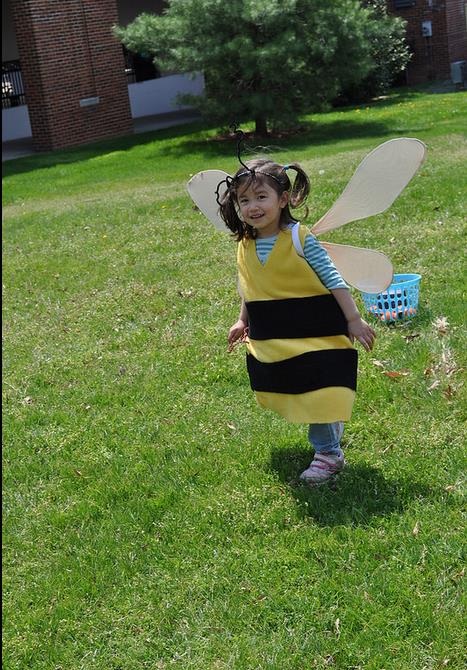
Yeah the little girl is cute, but I think we can all agree the real star of the show is her wings.
So without further ado, I’m going to share a little bit of what I came up with this semester. Here is how you can make your very own Pollinator Pods!
Picture
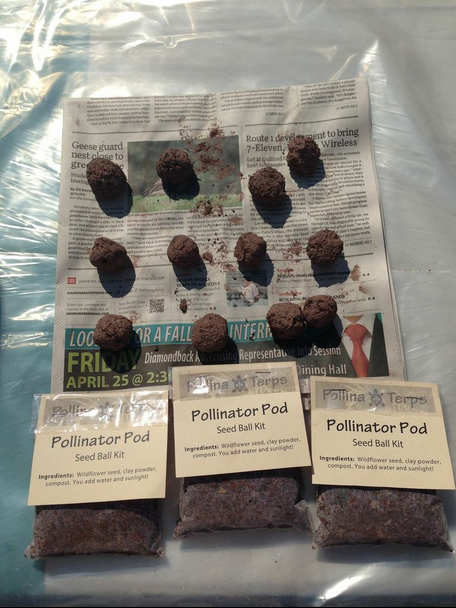
This is what the finished product looks like, official “Pollinator Pod” certification card not included.
Picture
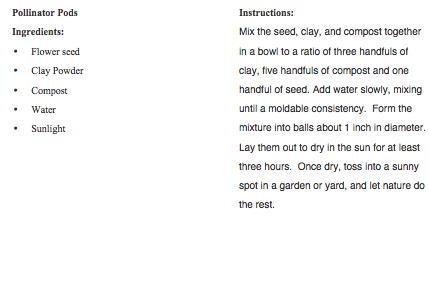
If you are making them at home, then go right to the ball-forming step, but if you want to do this activity with a large group on a time crunch, have everyone take home just the dry ingredients, and further instructions on what to do next.  Pro tip: using teaspoon scoops instead of handfuls yields enough dry mix to make about four balls.

The flower seed mix used should be specific to the area in which you plan on planting.  Make sure you are only using species that are native or beneficial to your local environment!  Ideally your flowers would also be ones favored by native bees, as the idea is to provide more suitable habitat for our buzzing buddies.  The flower mixture we used was illustrated on this lovely poster:

Picture
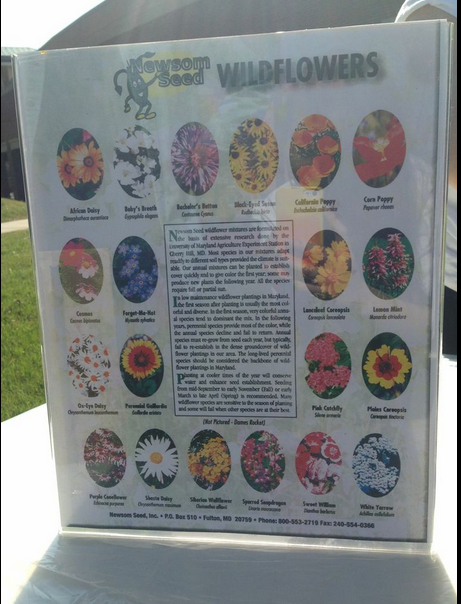
This is a great mixture of plants for Maryland, but for future years, I’d like to put some research into plants more specific to native pollinators, to make our Pollinator Pods even better!

Once you’ve made your pollinator pods, you can start learning about all the bees you’ll be helping with your new garden.  To get you on the right track, here’s a sampling of questions to test your knowledge about our native bees (answers can be found after the photo below):

1. What is one of a bees most useful building materials? Hint: They use it like glue and you have it too!

2. How far can a bumble bee fly to forage?

3. Where do native miner bees build their nests?

4. Halictidae, often called sweat bees, are some of the most colorful bees in MD, what color are most of them?

5. Name one reason for the decline of our native bee populations.
Picture
Native Bee Trivia Answers:
1. Their Saliva 2. Up to 8 miles 3. Underground 4. Metallic green/blue 5. Loss of native plants as food sources, pesticide use, habitat loss, competition from honey bees

All in all it’s been a great semester in the Bee Lab, and I can’t wait to see what comes next.

Honey Bee Saltwater Sampling: Efficiency Improvement

5/20/2014


By: Chase Bailey

Since a young age, I have had an attraction to engineering and mathematics, narrowing down my ideas for the future with numerous years of study. Not until my later teenage years did I realize that I didn’t explore much outside the realm of engineering and math. I decided that if I took advantage of the large array of research done at University of Maryland, I might find something else I am interested in, or perhaps at least narrow down what I would like to do in the future. The Bee Informed Lab was the perfect opportunity. I was asked to review the efficiency of the lab, in particular the salt water filtration system. I was exposed to a new field of study that interested me, while still performing engineering work.

The lab sends out 125ml bottles of saltwater into the field to collect honey bees and examine them for various pests and infections that our ravaging the honey bee population. Detection can lead to prevention and a reduction in colony losses. Before this process, the lab used to send out bottles of alcohol instead of saltwater. Not only did this cost more because of the alcohol, but it was a nuisance to ship alcohol solutions. The new method is overall much cheaper.

I noticed that the saltwater filtration system took a long time to produce a small amount of solution, and that inconsistency in the solution amounts occurred occasionally in addition to small amounts of precipitant in the bottles. I began by focusing on the main issues, improving efficiency, while creating a repeatable solution. The demand for bottles was increasing and a mechanized system would be helpful.

Picture
Crystalized salt build up on a beaker used during the mixing process. I think the current concentration can be cut back some!
To improve efficiency, I first examined the current system. 12 liters of tap water was added to a 5 gallon bucket and heated. Using hot tap water, it took 45 minutes for the 12 liters to be heated from 105 to 160 degrees using a bucket immersion heater. Then 3.4kg(7.7lbs) of salt is added and mixed. Precipitant can be seen sitting on the bottom immediately, and therefore filtering begins and takes 26 minutes for 12 Liters of solution to be filtered. Bottling concludes the system, where it takes the average filler 12 minutes to fill 48 bottles, add a drop of dawn detergent and put a cap on. This equates to a full hour to fill, add soap, and cap all 240 bottles with 50 mL of solution in each. The entire process takes a total of 2 hours and 36 minutes, not including a full night to let the solution cool.
Picture
The precipitant left over after filtering. Way to much salt used!
Picture
The current filtering method. It can certainly be improved.
I plan to improve the design by designing two filtration systems that I will present to the lab. Both systems utilize a tankless water heater which dramatically decreases the heating time. The water then goes into one of the two 30 gallon polypropylene tanks where it is mixed with a smaller amount of salt then currently used. I plan to take a few samples of bees, and see how lowering the concentration will affect the length of decomposition. By minimizing the salt concentration, but still achieving the ten day period without decomposition, less filtering will be required. After the solution has cooled, it can then be bottled. The tanks will each have two taps on them, one traditional tap at the bottom, and a second one placed above the first. After mixing, any precipitant will then sink to the bottom and the upper tap will not dispense any of it, leaving only a small amount of salt water and some precipitant in the tank. If needed, a Brita® filter could be placed on the upper tap to remove any precipitant. Having two tanks allows for the ability to mix and cool one, while the other, which has been previously mixed and cooled, gets bottled. This reduces the bottleneck effect that cooling creates.
Picture
Andrew collecting a sample of Honey Bees off of the roof of the Plant Science Building at University of Maryland, College Park. Of the six bottles pictures, two were 33% of the current concentration amount, two were 50 % and the remaining two samples were 75% of the current concentration amount. These samples will be analyzed for decomposition after two weeks. This will let the lab know if a lower salt concentration can be used.
The bottling system is where the two systems differ. System one utilizes a semi-automatic wine bottle filler to dispense the solution. There is a 2 nozzle option, and a 4 nozzle option available, both capable of dispensing the desired 50mL at a customizable time interval. The user would have to simply remove the filled bottle and replace it with an empty one, then add a drop of soap and apply a lid. The wine bottle fillers are capable of filling 240-750mL bottles per hour and 450-750mL for the 2 and 4 nozzle options respectively, improving the efficiency by 6 and 11 times the original amount. Therefore bottling would take roughly 15 minutes for the 2 nozzle option, or 10 minutes for the 4 nozzle option including soap and capping.

Option two differs from option one in the way that the bottle filler is more of a custom design. It utilizes a semi-automatic pump to dispense the 50mL at a desired time interval. A circular carousel will be set up below the pump nozzle, and will rotate after every bottle is filled. This could allow for the user to load up the carousel with a set number of bottles, and then walk away as the system dispenses and rotates automatically. The downsides of this system are that it only has one nozzle, and therefore will output fewer bottles per hour, although it could be automatized so that that user could multitask. This system would have to be built, and then programmed to run properly.

Picture
Chase’s design for solution two, the tank, with dual taps, and the bottle carousel. The floating device is the approximate location of the nozzle, which would be attached to a pump and the upper tap by a hose.
I have greatly enjoyed learning in the Bee Informed Lab and hope that my research and contributions will benefit them in the future. I hope that my system can be utilized to improve efficiency and promote productivity. I have explored a different field of engineering than I am accustomed too, and greatly enjoyed the experience. I felt out of my element and surrounded by intellectuals vastly different then myself and enjoyed it every step of the way. I have a new found interest in the field of entomology that I may pursue in the future, and I can thank the Bee Informed team for helping me along the way.

It’s a Buzzing World – Finding Precise Counts and Pollinaterps

5/6/2014


By: Arlin Delgado

As a junior searching for research experience, I was able to join the vanEngelsdorp Lab this semester to discover an interest in research I never knew I had. From day 1, I was welcomed and taught how the lab worked as well as the various projects that were occurring. Shortly after, I began my own independent project, comparing the precision of various methods to prepare Nosema samples, in addition to joining the PollinaTerps.

My independent project was created in hopes of finding a more consistent manner to crush honey bee samples in preparation for Nosema counting. The current method involves the use of a Pin Roller and a sealed Ziploc® Bag (containing a 100 bee count sample).  This method introduces multiple issues. First, the amount of pressure applied between researchers can create variety in the amount of crushing the bees undergo. Furthermore, some researchers will pin roll for longer increments of time, which once again changes the amount of crushing. The use of a Ziploc® bag does not separate debris and particles from Nosema spores that may have an impact on the visible Nosema under the microscope.

With these issues in mind, I looked into the use of a Pasta Roller, which previous work had established created constant pressure, as well as a Mesh Bag, which has two compartments to separate Bee components from liquid. The following four combinations were devised: Pin Roller with Ziploc® Bag, Pin Roller with Mesh Bag, Pasta Roller with Ziploc® Bag, and Pasta Roller with Mesh Bag.  To create consistency between Pasta Rolling methods, I created a standard protocol for rolling, and did so for the Pin Rolling methods as well. Once the bees were all crushed accordingly, Nosema counts were taken.  A total of 10 aliquots per method per population were taken to find means as well as variance (Pictured Below).

Picture
Statistical analysis shows critical values less than 10% for the two Pasta Rolling methods using Mesh and Ziploc® Bags. This leads one to believe that there is a greater precision in these two methods versus the two Pin Rolling methods. Furthermore, plotting the Average Nosema Counts per Method per Population, we see a possible difference between the use of the Mesh or Ziploc® Bag because in three of the four tested populations one sees higher counts from the Ziploc® to the Mesh Bag. Statistical analysis is under consideration to prove if there is any statistical difference.

In addition to my independent project, I joined Pollinaterps and worked with the team to create a display that creates awareness of the importance of Pollinators and provides information to Gardeners.  I worked at Maryland Day. This is a campus wide event which showcases the work and community at the University.  I assisted participants in creating Bamboo Nests. Bamboo Nests (pictured below) create habitats for solitary nesting bees, such as Leaf-cutter Bees, and are an easy way to attract native pollinators to gardens.

Picture
To create these Bamboo Nests, follow these simple steps:

1) Gather 7 to 8 dry Bamboo Sticks (varying sizes)

2) Tie twice with 2 Zip ties

3) Tie a 3rd Zip tie to create a handle

4) Hang facing a Southeast facing position

Moreover, I was also able to create two informational handouts, a postcard and a brochure, on Nesting Habitats that can be built in backyards to attract Native Bees.  As pictured below:

Brochure:
Picture
Picture
Postcard:
Picture
Picture
All in all, this semester has been a learning experience that I will not forget and would like to thank the lab for all they have done to open my eyes to a whole new world of research and interests. I am greatly looking forward to what the following semester will bring!
<<Previous

    Archives

    December 2024
    September 2024
    August 2024
    June 2024
    May 2024
    April 2024
    February 2021
    May 2020
    June 2018
    May 2018
    June 2017
    May 2017
    October 2016
    May 2016
    November 2015
    September 2015
    April 2015
    December 2014
    November 2014
    October 2014
    June 2014
    May 2014
    April 2014
    December 2013

    RSS Feed